Perfect Homemade Cold Brew Coffee Recipe + Barista Tips
The irresistible aroma and smooth taste of cold brew coffee – there’s nothing quite like it. Cold brew is super popular in 2024, for good reason.
Now if you’ve been wondering whether you can make this delightful drink at home, then you’re in the right place. I’m a barista who’s been making cold brew for years, and I will share everything you need to know about crafting the perfect cup from choosing the right beans to troubleshooting common issues.
Let’s get started on unlocking the secrets behind homemade cold brew.
What is cold brew coffee?
Cold brew is a method of preparing coffee by steeping ground coffee in room temperature water for an extended period, typically 12-24 hours. The result is a smooth, less acidic, and highly concentrated coffee that can be served hot or cold, and can be diluted with water, milk, and can serve as a base for other coffee beverages.
Cold brew is simple to prepare, requires minimal equipment, and yields great results, even if you are new to the specialty coffee scene.
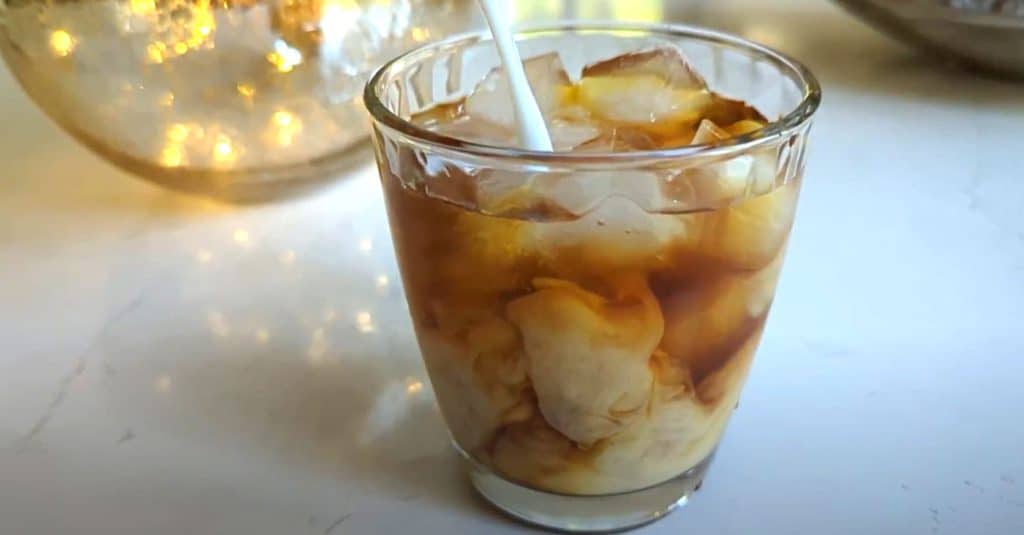
Many people mistake cold brew for iced coffee, but they are totally different. Iced coffee is just hot coffee cooled down, while cold brew is brewed with cold water. Here is an iced coffee recipe in case you’re interested.
Choosing the Right Coffee Beans for Cold Brew
Since cold brewing extracts flavors slowly and gradually, the quality of your beans plays a significant role in determining the final flavor. I always recommend sourcing freshly roasted whole coffee beans from reliable roasters or your local coffee shop, so you know the exact roast date.
You are technically putting 20+ hours of work into the brew, so don’t ruin it with bad ingredients. Low-quality beans will result in a dull, stale-tasting cold brew; Using fresh beans also ensures that you’re obtaining more natural oils, aromas, and nutrients from the coffee.
The choice of roast level also has a direct impact on your cold brew’s taste profile:
- Lighter roasts exhibit bright acidity and pronounced fruity notes,
- Darker roasts lean toward bolder, chocolatey, earthier flavors, with less acidity.
I think dark roast beans are best for cold brew, since they really bring out the deep chocolatey, sweet flavor of the beans. Here are my favorite cold brew coffee beans.
On the other hand, I’ve had conversations with other baristas, who only use light roasts for cold brew. So as you can see, there is no right answer, don’t shy away from experimenting with various roast levels.
Remember that one of the best parts of making homemade coffee is in tailoring the recipe to suit your taste. It is basically your obligation to explore diverse origins, varieties, and processing methods, or even blend multiple types of beans together.
Grinding Your Coffee Beans for Cold Brew
The grind size of your coffee beans affects the flavor and strength of your coffee. The best grind size to use with cold brew is a consistent coarse grind.
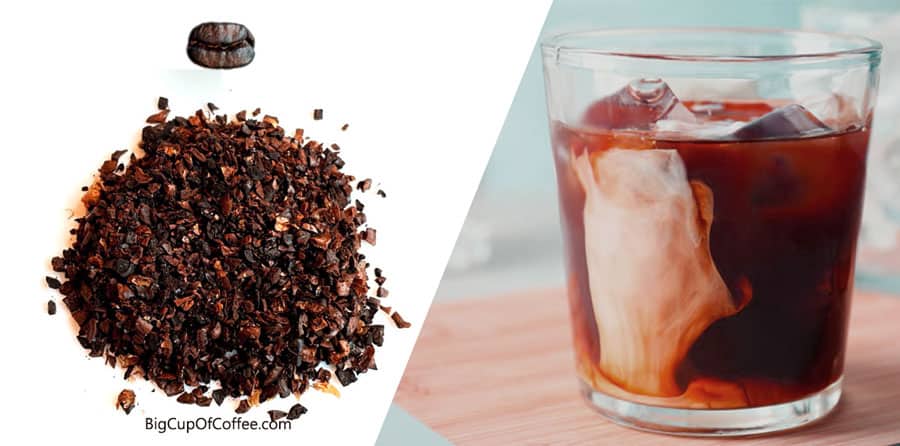
Why coarse?
Well, when you steep ground coffee in room temperature water for such extended periods, finer grinds will become over-extracted and bitter. A coarser grind provides a slower extraction, resulting in smoother and less acidic flavors.
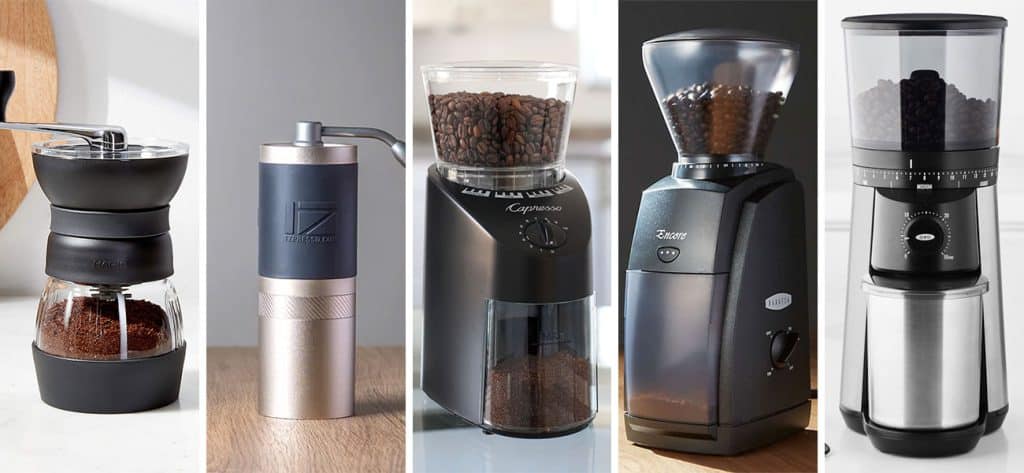
This is also the reason consistency matters. I always recommend using a burr coffee grinder rather than a blade grinder, because they offer greater control over the grind consistency.
Since you’re grinding coarse, manual grinders will still be quick, despite the larger volume of beans you’ll be grinding. But of course, automatic grinders will be the quickest.
Here are the best burr grinders for cold brews.
If you don’t have a burr grinder yet, most specialty coffee shops will grind their own roasted beans for you, just let them know it’s for cold brew coffee.
Perfecting the Cold Brew Coffee Ratio
The coffee ratio of cold brew defines how much coffee to water is used in the brew.
As a barista, I recommend starting with a general guideline of
- 1:5 bean-to-water ratio for cold brew concentrate,
- 1:12 ratio for ready-to-drink cold brew.
Concentrate or Ready-to-Drink Cold Brew?
Cold brew concentrate is an espresso-style drink, which you can dilute with water, ice, milk, and use as a base for loads of other coffee recipes. As you can see, it is very versatile in concentrated form.
Ready to drink cold brew is a longer version, with the consistency of drip coffee. You can’t really use it as the basis of any other type of drink.
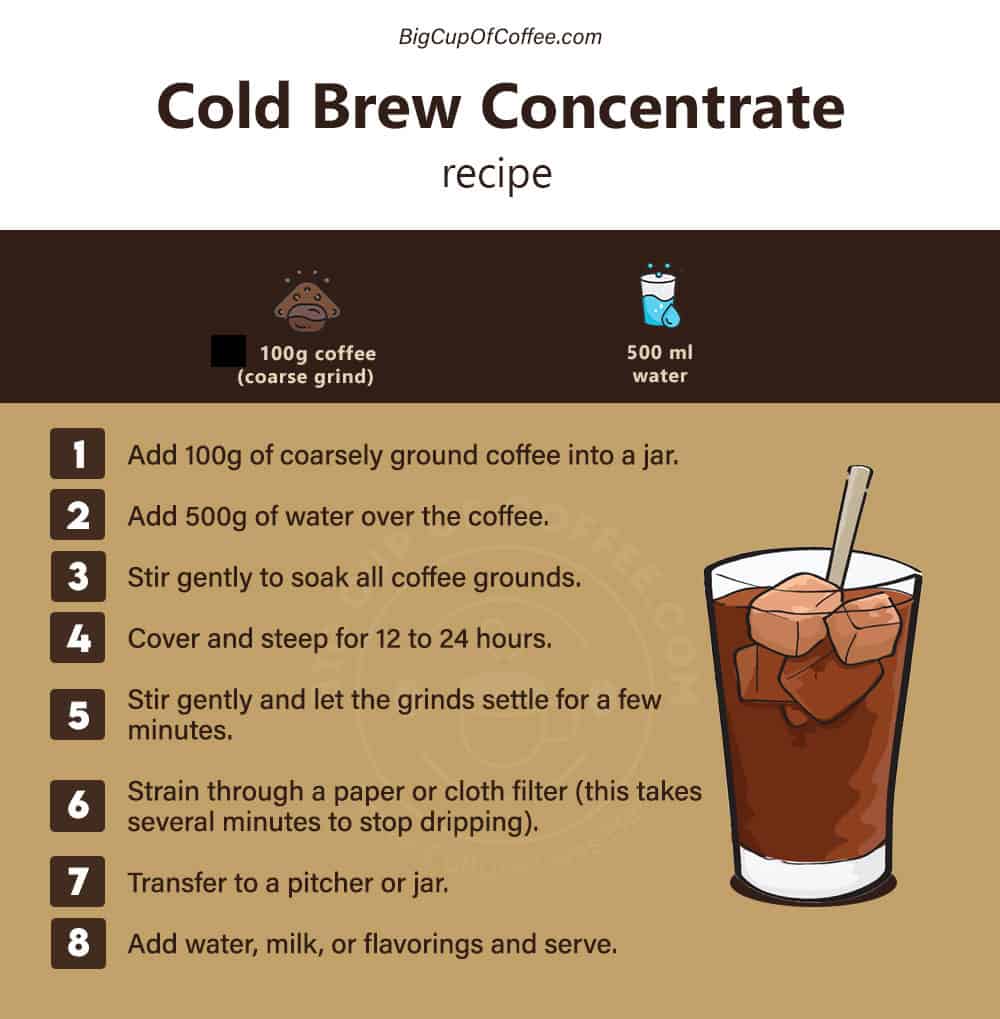
Step-by-Step Guide to Making Cold Brew Coffee at Home
Now I will show you the details of how I make magnificent and versatile cold brew coffee concentrate at home. It is very simple and quick once you get used to the process, and the results are always great.
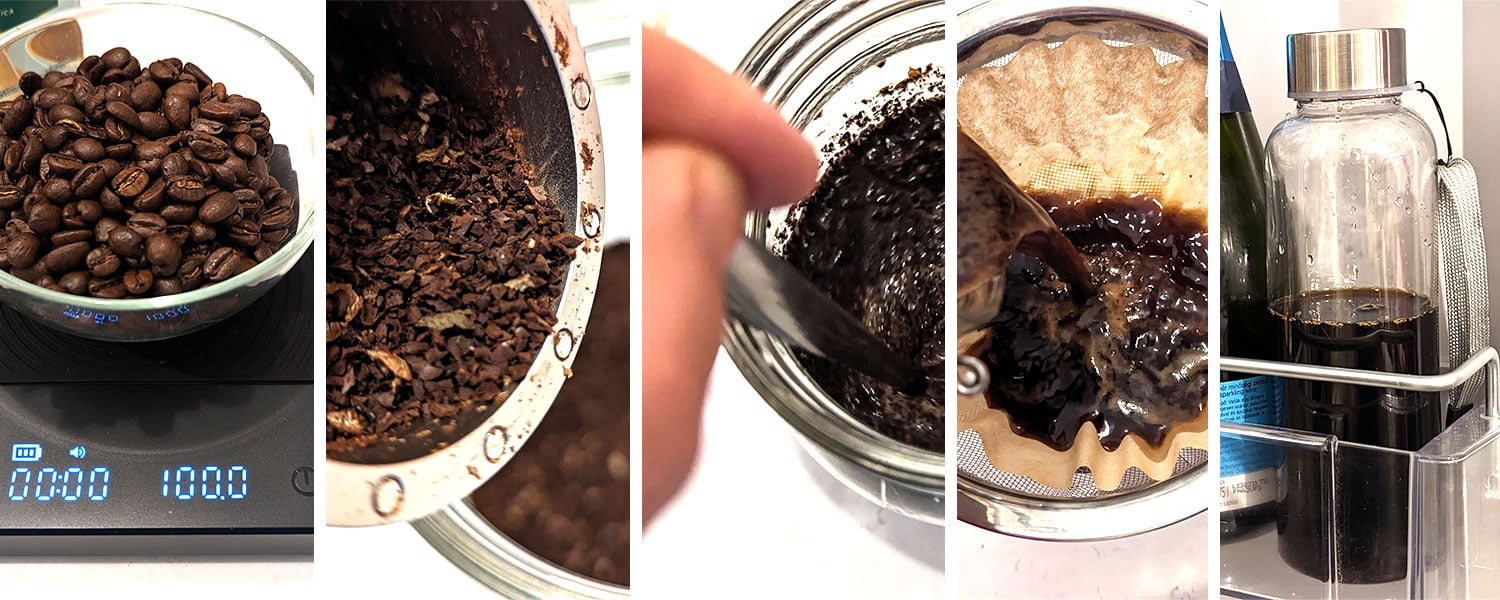
1. Measure the coffee
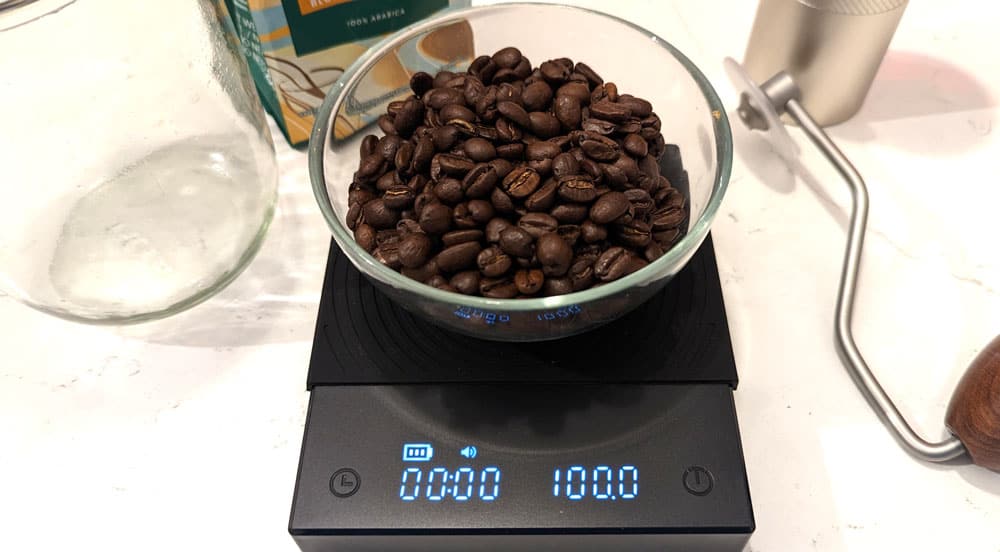
We’re going to be making exact measurements with this recipe, so toss your measuring spoons, and grab your kitchen scale.
I usually make 100g coffee batches of cold brew concentrate, since the yield of this is how much we will drink in a week.
2. Grinding
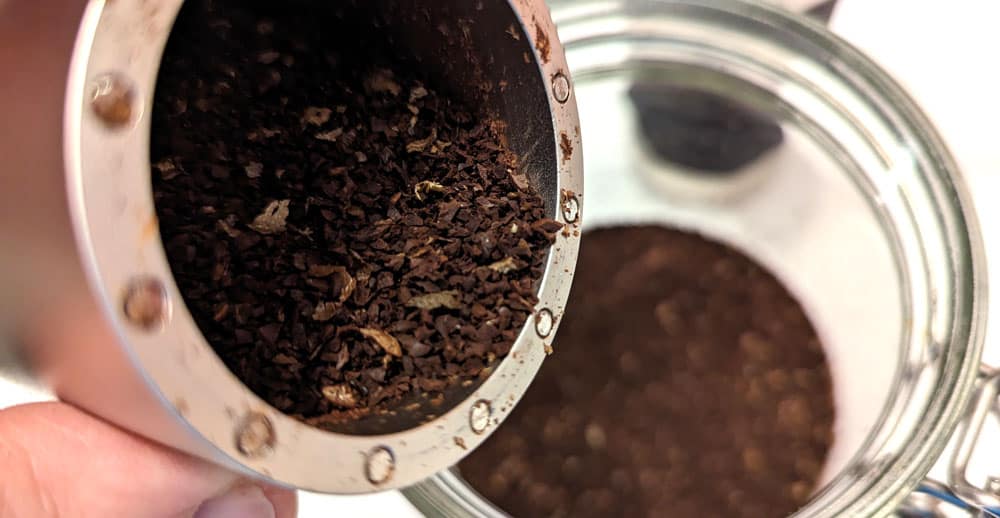
Grinding for cold brew is very easy even with manual grinders. I usually ask my 7-year-old daughter to do it with my 1Zpresso J-Max grinder. It is quick and almost effortless.
Of course, if your grinder capacity is smaller than the 100 g of coffee we will be using, you will need to empty the grinder a few times.
3. Measure the water
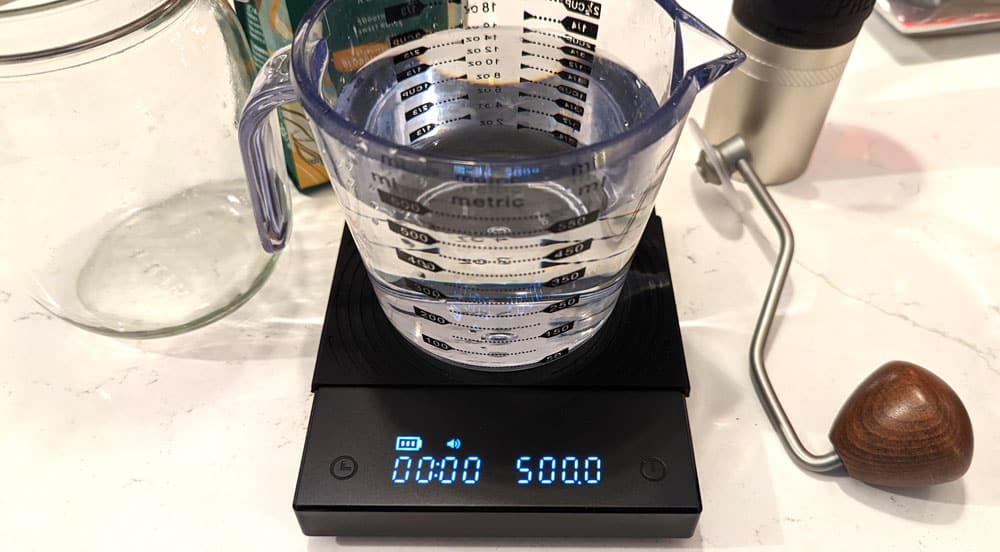
As you know from the 1:5 cold-brew concentrate ratio above, we need 500g of filtered cold or room temperature water. Again, measure this precisely with a scale.
4. Mix the coffee grounds and cold water
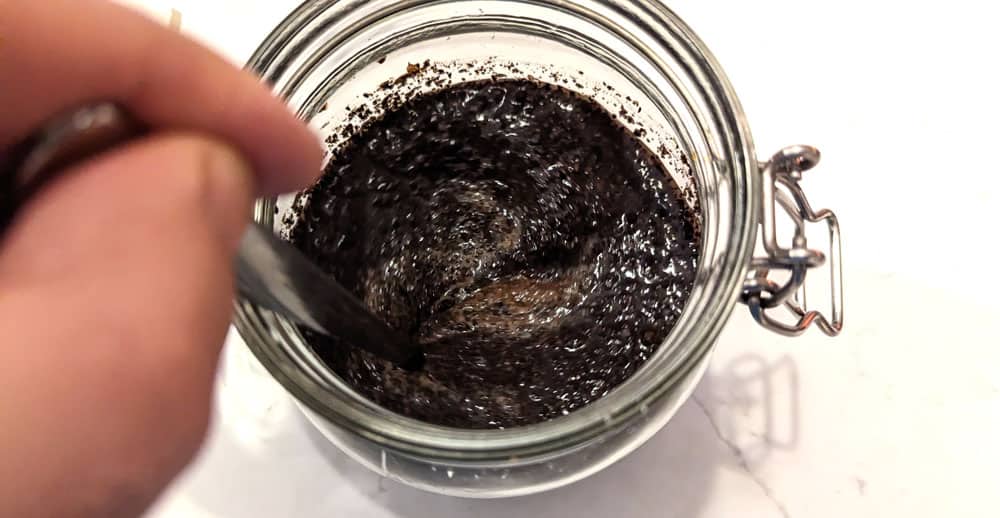
The next step is a simple one.
- You pour the grinds into a jar,
- Pour the water over it,
- And mix them gently with a long spoon, just to make sure all of the coffee is in contact with the water.
And that’s all. You shouldn’t stir a heavily for 10 minutes. Just wet all of the grinds, and move along.
5. Steep the mixture for 22 – 24 hours
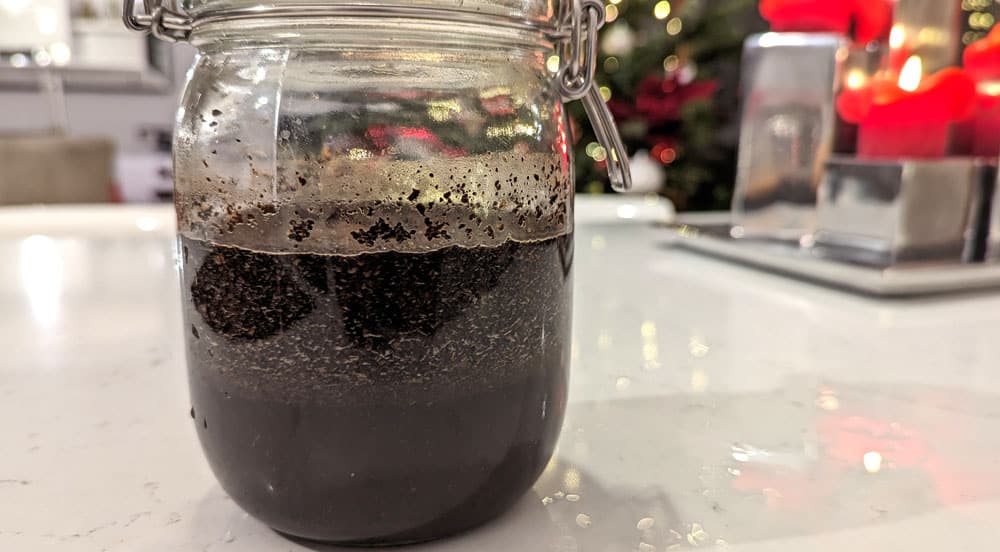
Rome wasn’t built in a day, but cold brew takes about that long 🙂
Cover the jar or container with something, and let it steep for about a day in your kitchen. You don’t need an air-tight seal here, covering it is just so nothing gets into your coffee. You also shouldn’t put it into the fridge while steeping.
I have seen recipes where people only steep their cold brews for 10 – 12 hours, but that is not enough time. I tasted mine at the 12-hour mark once, but it was about halfway there. Maybe if you are making ready-to-drink cold brew, that might be enough. But for concentrate, you need almost a day.
6. Filter the brewed coffee
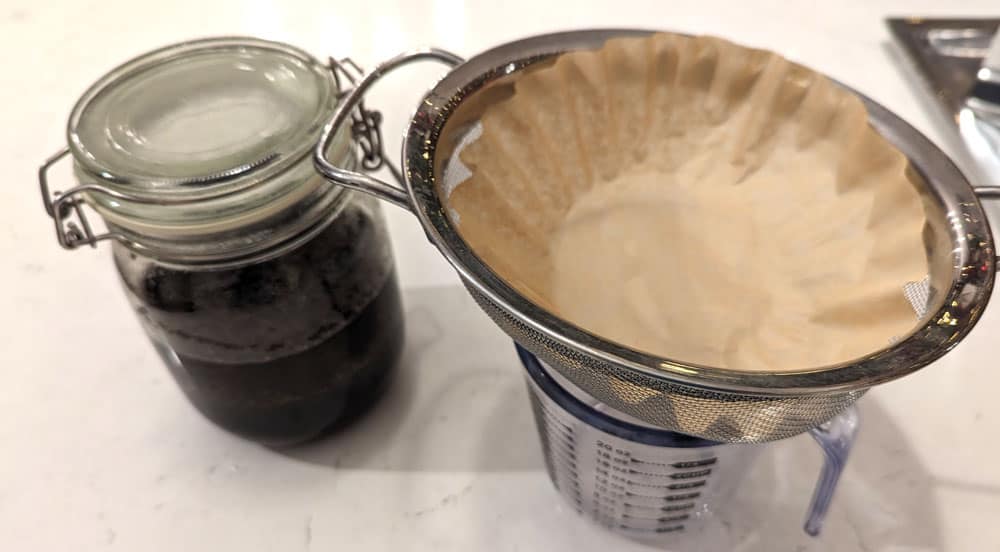
This is actually the trickiest part of making cold brew. You don’t need to buy any special equipment to strain the coffee, all you need is:
- coffee filters or high quality paper towel
- a large kitchen filter that is about the size of the coffee filter
Now do the following:
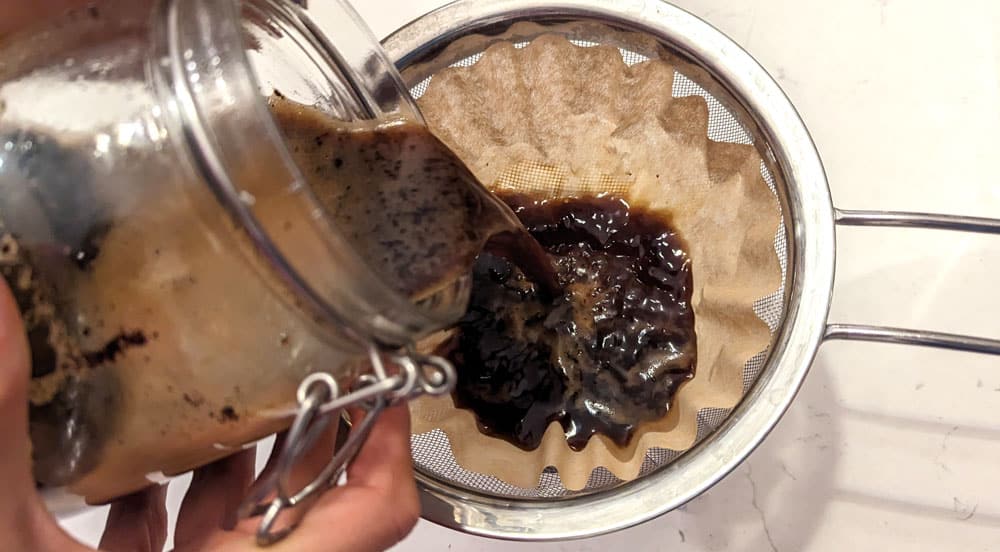
- Open the steeping jar and stir the mixture a few times. You should see CO2 being released as soon as you put the spoon in.
- Let it rest again for a minute.
- Place your kitchen filter on a pot, and put your coffee filter (or paper towel) into it. Sometimes I actually use 2 coffee filters if they are very thin.
- Now slowly pour the mixture over the coffee filter. You want the grinds to stay in the jar as long as possible, pouring most of the liquid out first.
- Take care pouring your mixture, you can get really messy here. You may need to use a spoon to moe the grinds around a bit in the filter as well.
- Once all of it is in the coffee filter, it will slowly drip through into your pot. This takes a few minutes, so you can use this time to clean up the mess you just made 🙂
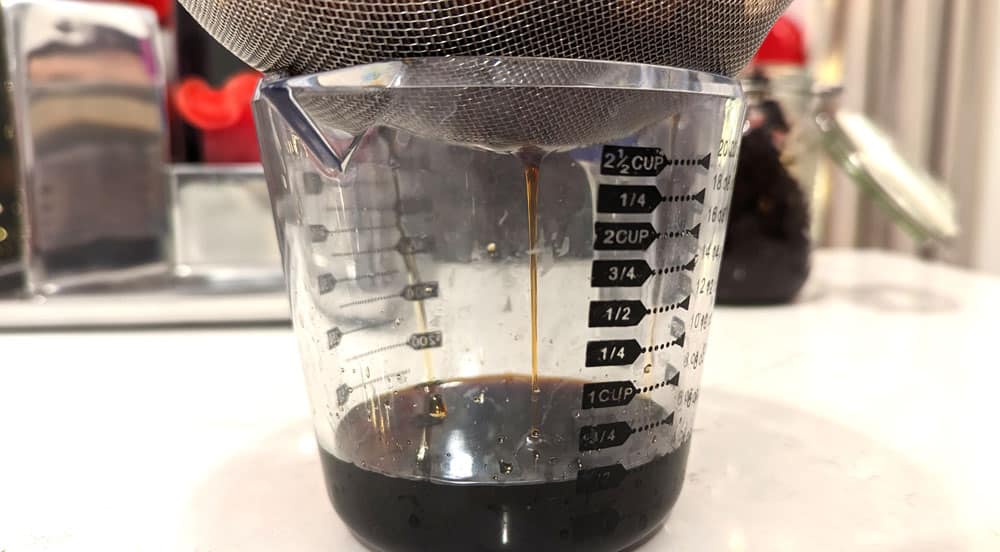
And that’s all there is to it, you have cold-brew concentrate.
7. Store and preserve in the fridge
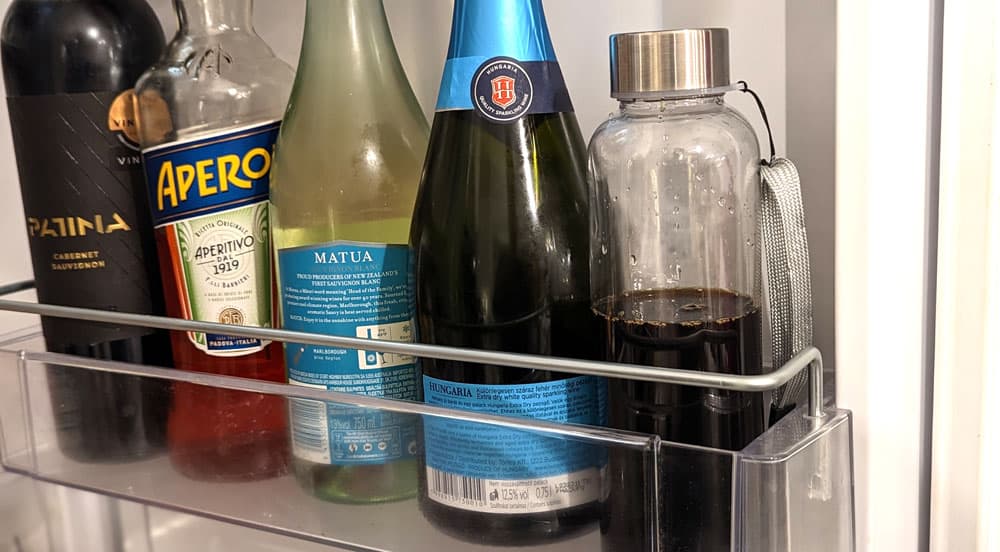
As you can see on the picture above, I have all my goodies on 1 single rack in our home refrigerator 🙂
You can store your cold brew in an air-tight bottle or mason jar in the fridge for about 7 days without problems. After that time, I noticed it starts becoming a bit heavier on the palette. Perhaps the microparticles continue the extraction process slowly. It does not spoil yet, but it tastes off, so I discard it after 7 days no matter what.
I’m not sure how long it would take for it to spoil, but you shouldn’t test it.
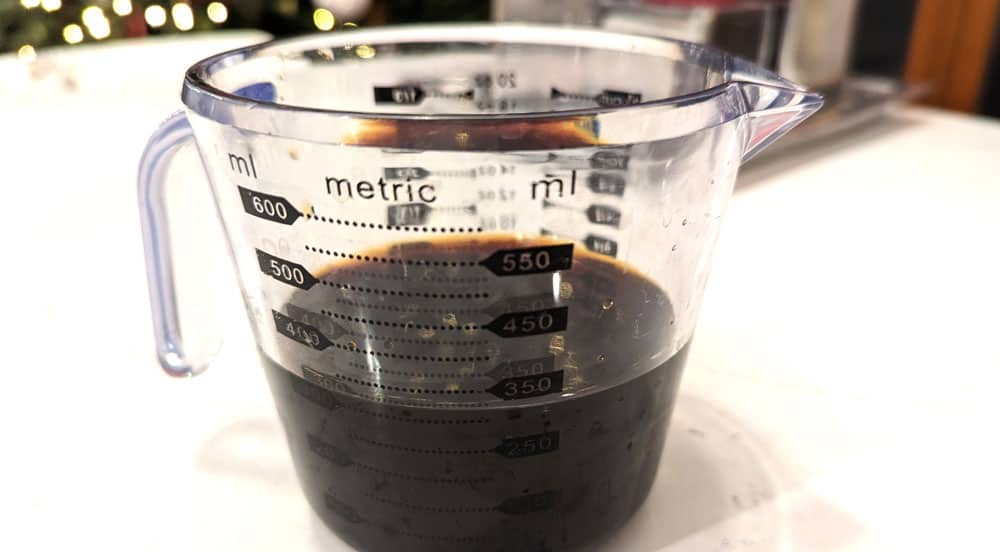
The yield from cold brew is not very much, I tend to get around 330-350g of coffee with this method. The grinds retain a lot of water.
Serving and Enjoying Your Cold Brew Coffee,
There are so many ways to enjoy cold brew concentrate, it is an amazingly versatile brew. You can:
- Have it as an espresso-type drink
- Dilute it to 1:1 or 1:2 for a refreshingly cold Americano (or heat it up for a warm one)
- Use it as the base for espresso and milk coffee recipes
- Or go wild and try some of these creative cold-brew flavors and variations
This level of versatility is one of the reasons cold-brew has become so popular in home kitchens.
Troubleshooting Common Cold Brew Issues
You will encounter issues as you learn more and more about cold brewing coffee. Here are the most common ones, and their fixes:
- Issue 1: Over-extraction or bitterness. That’s usually because you’ve let your coffee steep for too long, or the grind is too fine. Try cutting your steep time or go for a coarser grind. Your coffee beans may also be roasted too dark. Personal tip? Keep a brewing diary. It helps me track adjustments, so I can remember the good and bad brews. For example, I once forgot my cold brew for a day and half… let’s just say it was more bitter than my ex on Valentine’s Day.
- Issue 2: Weak or under-extracted brew? Then we’re doing the opposite of Issue 1. Lengthen your steep time, use a finer grind, or use darker beans. With cold brew, slow and steady wins the race. I was once in a hurry since I couldn’t be around to filter at the 22 hour mark, and cut the steep time at 16 hours. Ended up with coffee that was weaker than my joke from Issue 1 🙂
- Issue 3: Cloudy or sediment-filled cold brew. This could be due to the type of filter you’re using or perhaps your grind size is too fine if it tastes too bitter as well. Double filter your brew or use a finer grind.
- Issue 4: Unpleasant or off-flavors in cold brew. This could be because of the quality of your beans, water, or your container was not clean. Check your beans’ roast date, and remember to use filtered water for all coffee brewing methods, not tap.
- Issue 5: Difficulty filtering cold brew effectively. Yeah, that’s the hard part. A cheesecloth, coffee sock, or even a fine mesh sieve can help. Don’t be shy to get creative. Just no actual socks, please.
How to Make Cold Brew Coffee in Different Brewing Devices
The coffee industry is ripe with innovation. You can get special cold-brew coffee makers that take the heavy lifting out of filtering the coffee for you.
You can also buy devices that spin and stir the coffee, and make cold brew in minutes. How weird is that?!
There are also coffee makers that are specifically designed to make your cold brewing even more convenient, just like the OXO Good Grips cold brew maker which has these nifty features:
- A perforated top to evenly saturate the coffee grounds when you pour in the water.
- Built-in filter holder for paper filter
- A release switch that lets the filtered cold brew concentrate drip on the bottom.
But if you want to use something you may already have at home, check out this article on how to make cold brew with a French press. Being an immersion brewer, the French press is an obvious choice for the job.
You can even use your Aeropress to make cold brew, as I describe in the article.
Oh yes, you can also buy cold brew ready in stores.
Perfect Homemade Cold Brew Coffee Recipe + Barista Tips
Ingredients
- 100 g coarse ground coffee
- 500 g filtered water
Instructions
- Measure the coffee.
- Grind coarse.
- Measure the filtered water.
- Mix the grinds and water in a jar.
- Seal and steep at room temperature for 18-22 hours.
- Filter the coffee patiently.
- Store in fridge.
Video
Notes
Summary
If you’ve made it this far, you are serious about making cold brew. That’s great! You have all the information you need to make your first batch. You might even want to give Nitro cold brew a try.
Be mindful of the measurements, steep time, and be careful with the filtering process. You’ve got this!
And please let me know how it went in a comment.

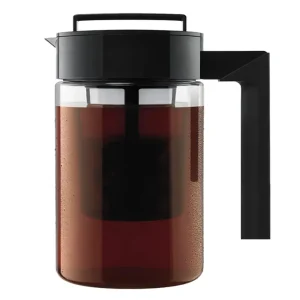 900ML Cold Brew Coffee Maker with Filter
 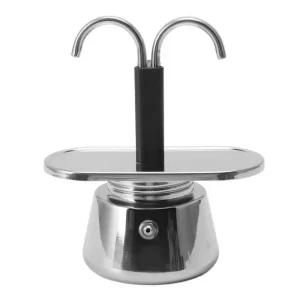 Double Spouted 2-Cup Moka Pot
 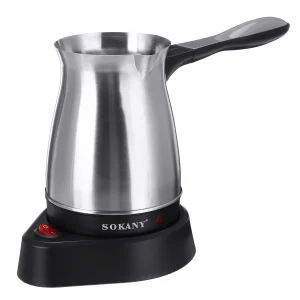 Electric Turkish Coffee Pot
  Ceramic Curved Espresso Dosing Cup and Spray Kit
  MHW-3BOMBER Digital Instant Read Coffee Thermometer
  Stainless Steel Portafilter Rack